
How create your own network with desktop app
It's possible to manage your network sharing your database with your collaborators. Indeed you can create the number of users that you want and to allocate them different permits type and/or the record cards that they can view and modify.
Let's see together what are the steps to create users:
- Go to options menù
 and follow the path shown in the following image: Users ==>
  ==> New local User or New cloud User.
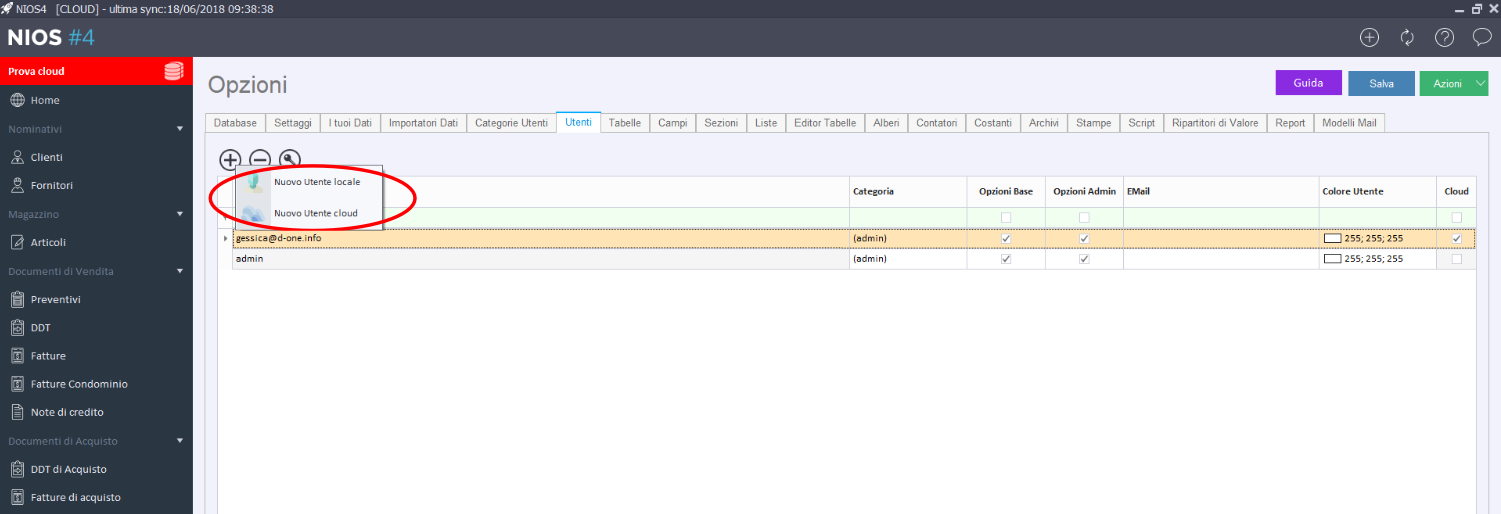
- New local User: it's a user that can login to databse just in local.
- New cloud User: it's a user that can login to cloud database from all devices.
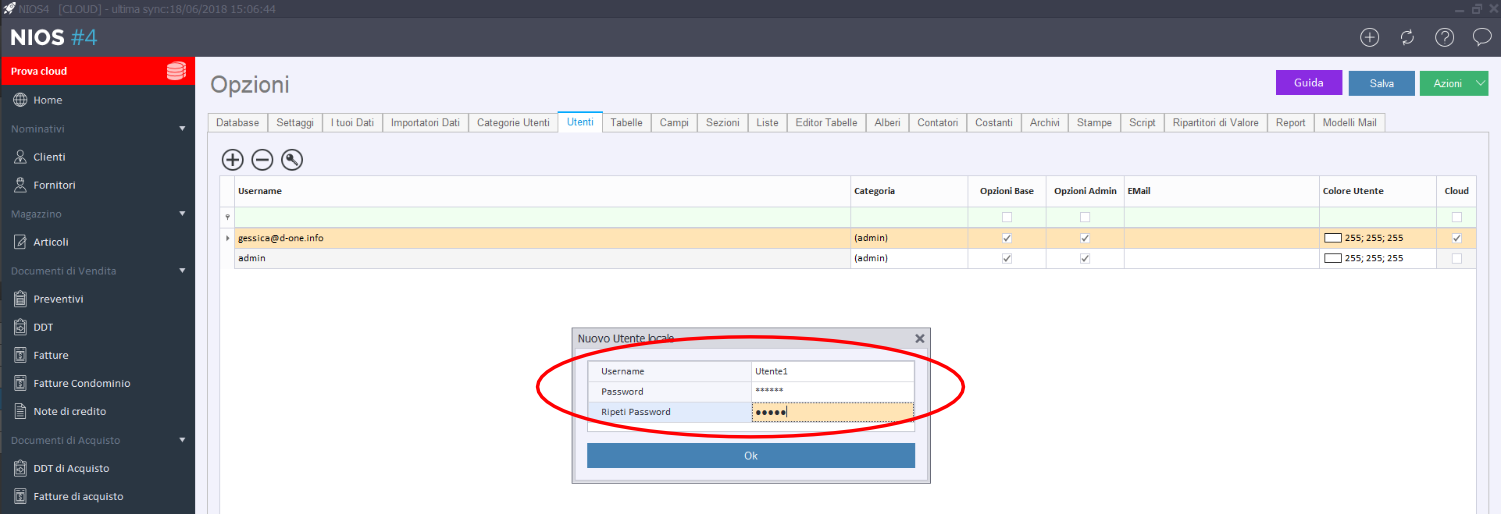
- Create a local User: choose new local user and enter username and password and press on ok. User will be add.
- After you have to assign the category.
- Enable or disable the permissions for the basic and admin options. Basic options allow only the insertion of data, admin options also allow to chnge the structure.
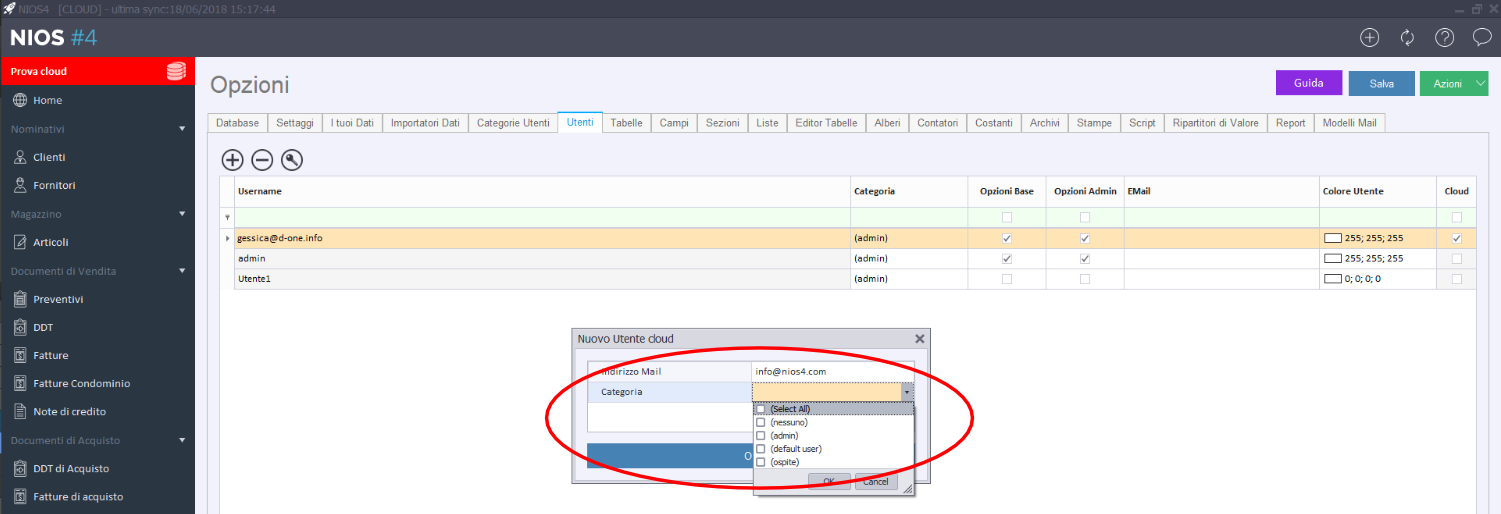
- Create a cloud user: choose new cloud user, enter his e-mail and choose the category.
- Enable or disable the permissions for the basic and admin options. Basic options allow only the insertion of data, admin options also allow to chnge the structure.
- System will send an e-mail to indicated e-mail address with an invitation to collaborate.
If you need more clarifications you can contact us filling the form.